After laying the track, and connecting the wires, the track is functional, but it looks like a alien landscape with the surrounding scenery being perfectly flat and pink. It’s time to start creating the foundation for the module’s scenery.
The first thing I want to do is to create the land forms, especially a hill in the back right hand corner of the module where there is a bunch of open space. I have a good amount of left over foam, so I am using that for the base of the hill.
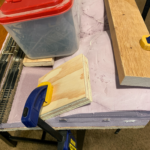
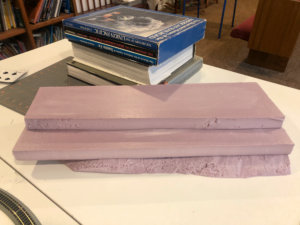
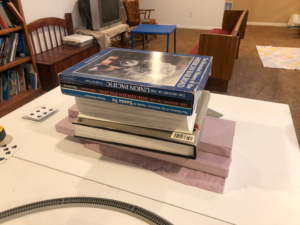
I cut out three pieces of foam, each progressively smaller than the other. The goal is to laminate three layers of foam together using a foam safe adhesive caulk. After stacking the foam and applying the caulk, I placed on top of the stack of foam a bunch of heavy books as weight. I left the books on top of the foam a couple of days and let the adhesive cure.
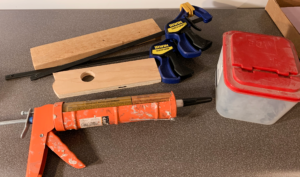
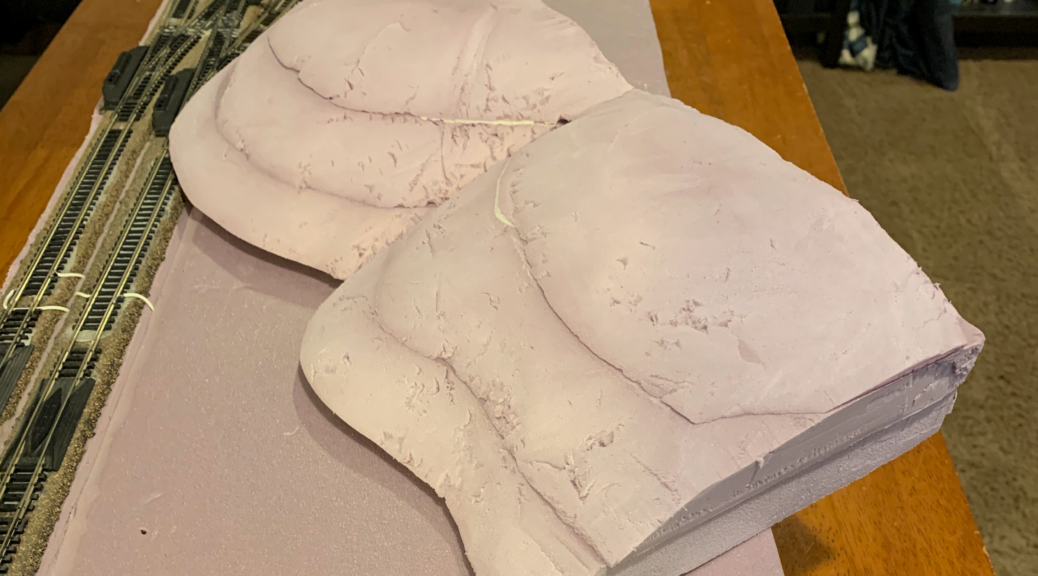
After reading a number of articles about craving foam, I found a couple of tools that I had laying around the house that would aid in my quest. I don’t have an hot wire cutting tool and had to make due with knives. My tools of choice where an extra long curved #26 X-Acto blade, a short curved blade, and a hand held saw with a fine toothed blade. The curved edge of the blade makes it easer to cut through the foam with out tearing it up. On the plus side, I didn’t have to worry about the fumes created by the wire cutter in an enclosed space.
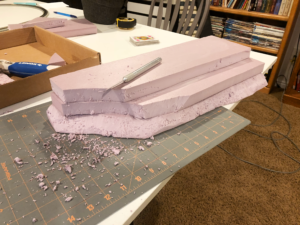
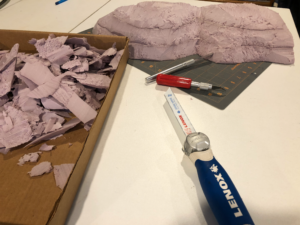
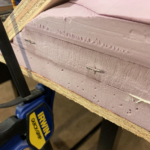
As I carved the hill, I tried to keep in mind what the shape of the hill that I as after. At first I cut off large pieces, and then did progressively smaller cuts as I got closer to the shape that I wanted. To deal with is the mess and bits of foam as I carved, I used a lid from a document archive box that had a nice lip to capture most of the larger chunks that I carved off. I kept a vacuum near by to keep it the small pieces under control. When I got close to what I wanted, I sanded the hill to even out most of the irregularities.

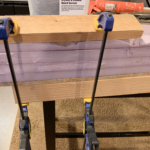
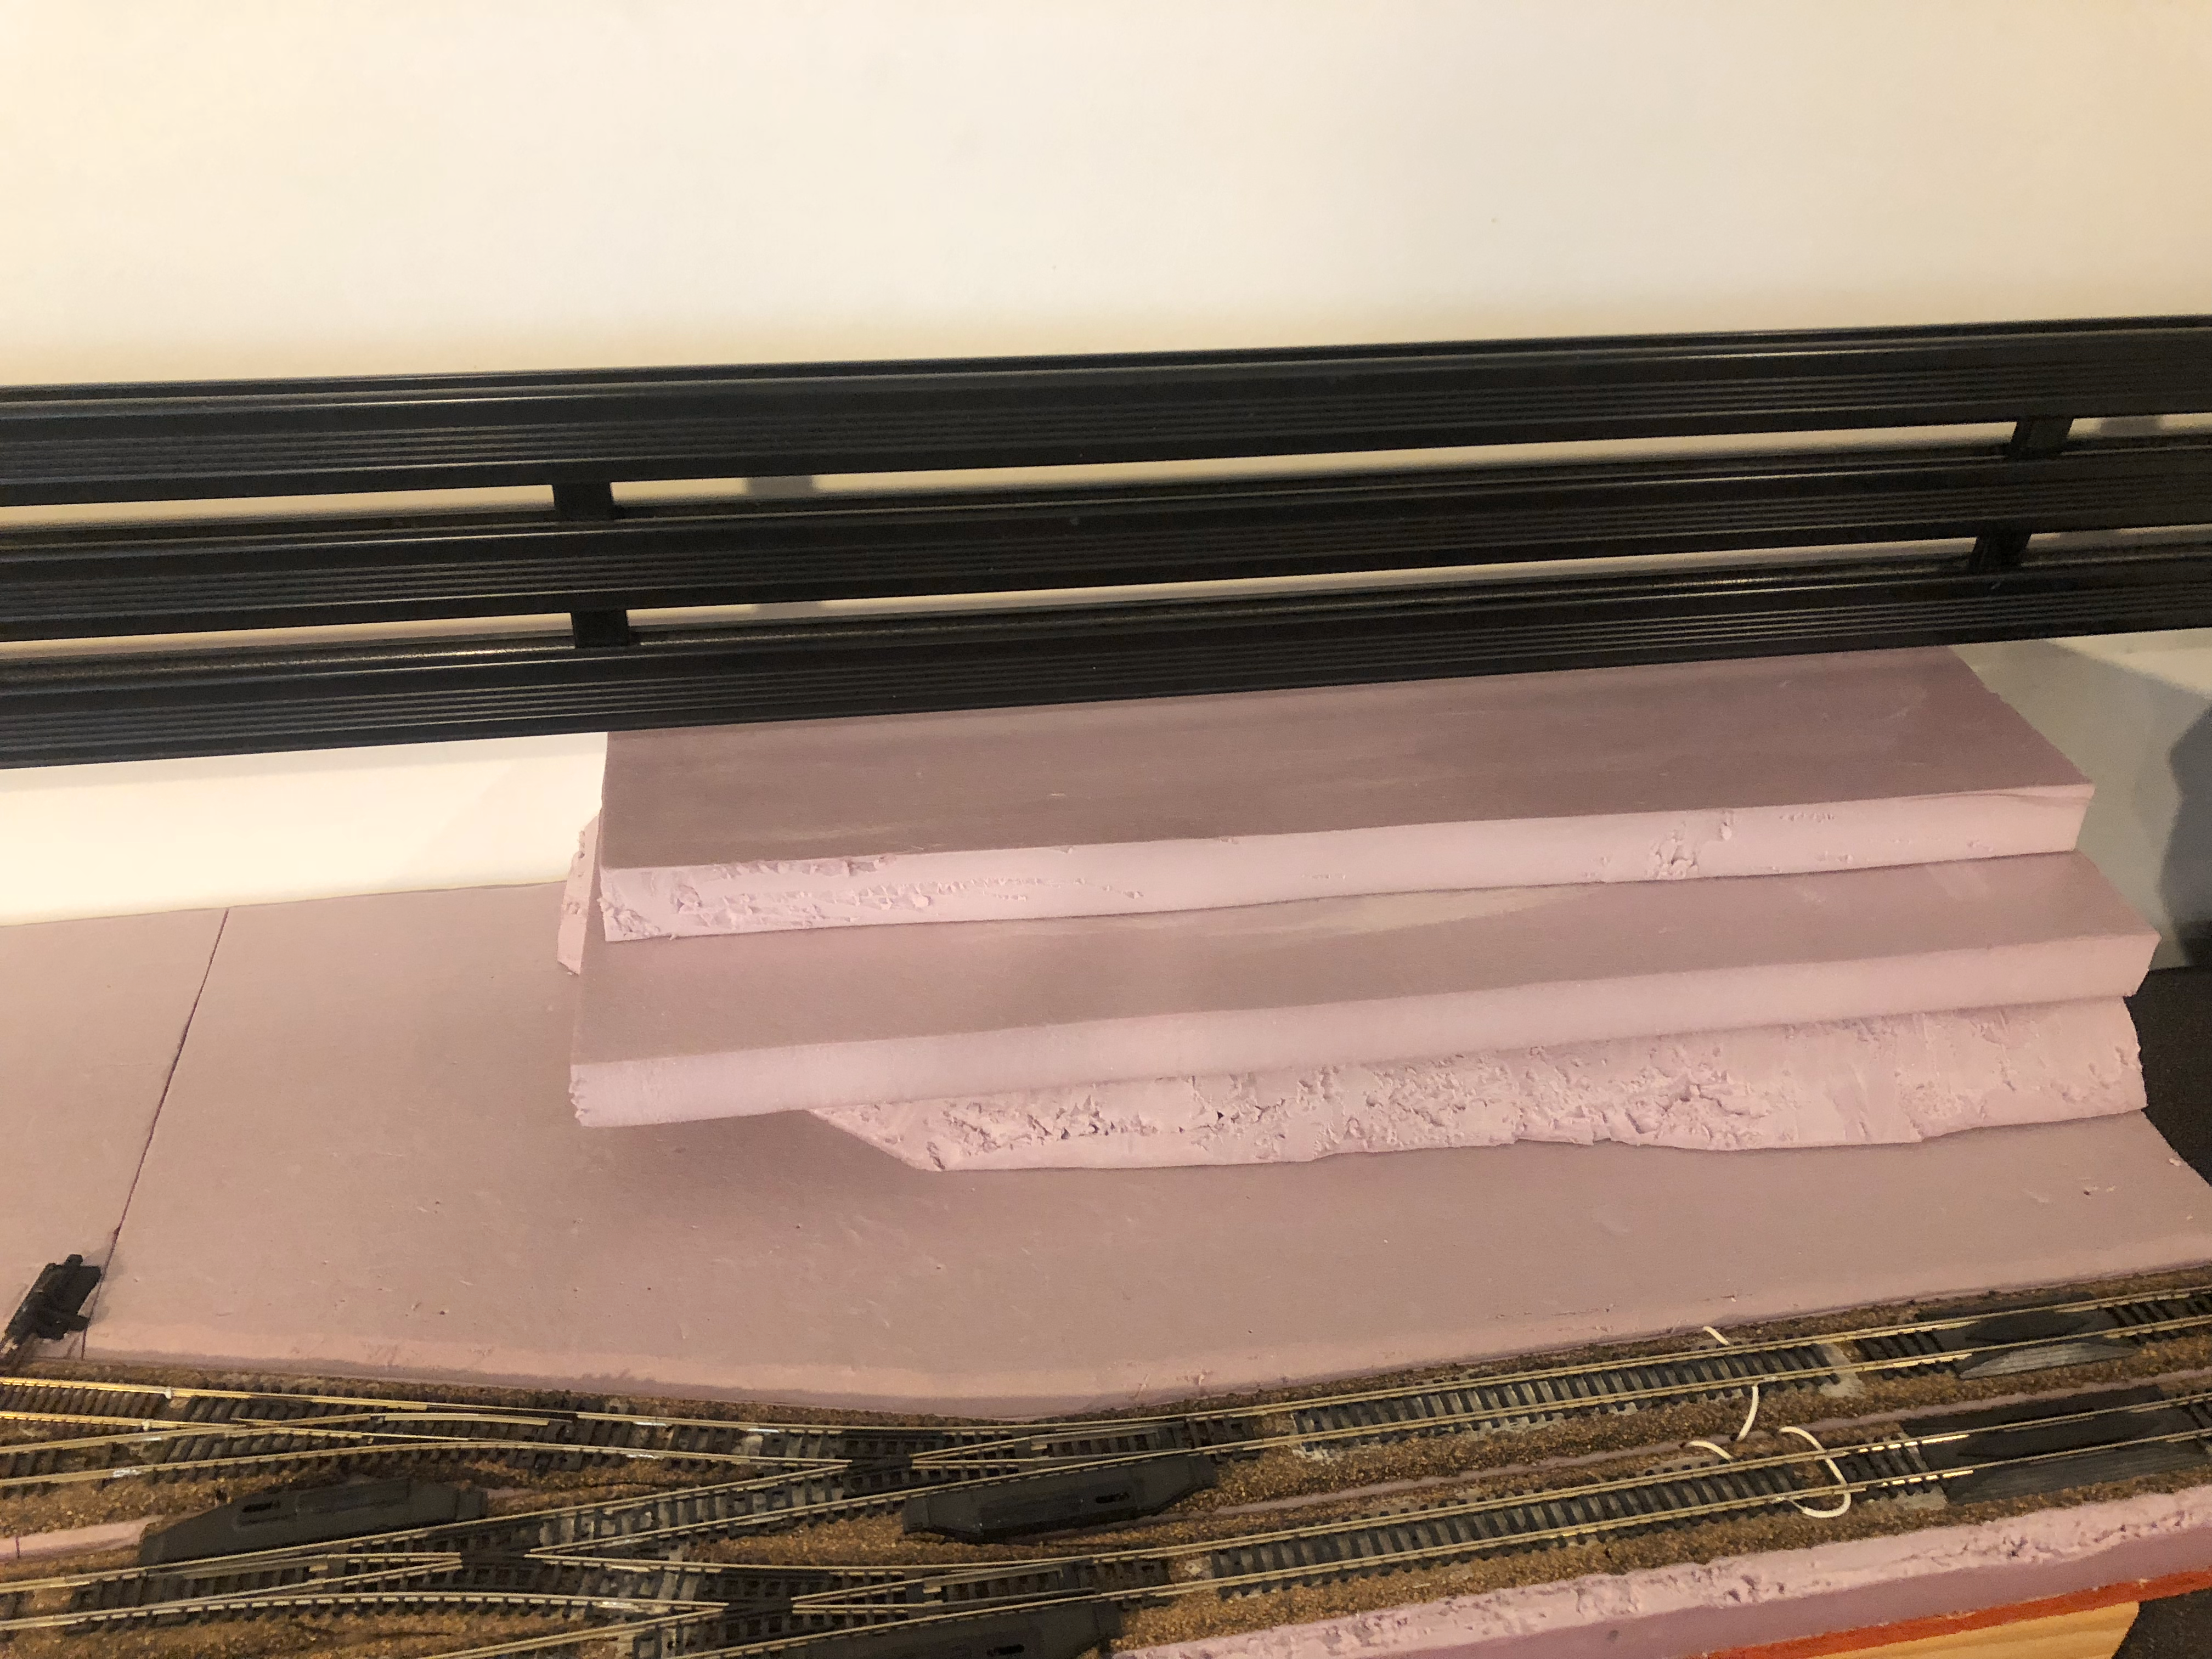
It was now time to attach the hill to the module. I applied a liberal amount of foam safe adhesive to the bottom of the hill. The I didn’t want to have to worry about the hill separating from the module. I couldn’t easily stack books on the hill like I did before since it was a nice rounded shape. I instead opted to use a combination of clamps, wood, and a container of interior drywall screws as weights. To help keep the sides of the hill tight agains the top of the module, I used a number of pens set in an angle. I let the whole monstrosity set for a couple of days to cure. Between the clamps, weights, and pins, the hill was now firmly attached to the module.